


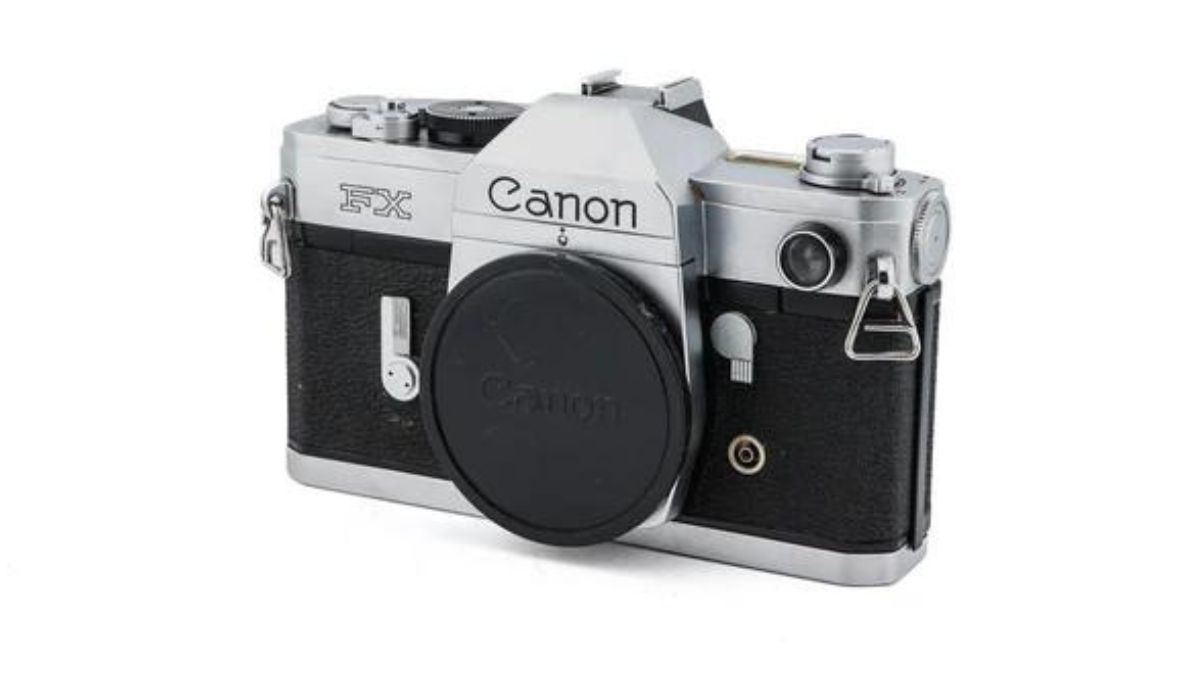
Introduction to Canon FX Light Seals
Are you a proud owner of the classic Canon FX camera? If so, you know how important it is to keep your gear in top shape. One often overlooked aspect of maintenance is the light seals. These unsung heroes play a crucial role in ensuring that no unwanted light sneaks into your film chamber, which can ruin your photos and negatively impact your shooting experience.
In this guide, we’ll dive into everything you need to know about Canon FX light seals—from understanding their significance to recognizing when they need replacement. Let’s equip you with the knowledge and tools necessary for preserving those precious memories captured on film!
Importance of Maintaining Light Seals
Light seals play a crucial role in the performance of your Canon FX camera. They prevent unwanted light from entering the film compartment, which can ruin your photos and lead to costly mistakes.
When these seals deteriorate or wear out, they compromise image quality. You may start noticing foggy spots or light leaks on your prints that weren’t there before. This degradation can be frustrating for photographers who value clarity and precision in their work.
Regular maintenance of light seals ensures you’re always ready to capture stunning images without the worry of unexpected artifacts ruining your shots. By keeping them fresh, you extend the life of your camera as well.
Maintaining these components is an essential part of caring for vintage gear like the Canon FX. Doing so enhances not only functionality but also overall enjoyment while shooting with this classic camera.
Signs that Your Light Seals Need Replacing
Your Canon FX light seals play a crucial role in protecting your film from unwanted light leaks. If you notice any irregularities, it’s time to take action.
One of the most common signs is visible wear or deterioration on the seals themselves. Cracks, peeling edges, or a sticky residue can indicate that they have lost their integrity.
Another red flag is foggy images or inconsistent exposure in your photographs. Light creeping into the camera body can cause unwanted effects that compromise image quality.
You might also experience unexpected streaks or spots appearing on developed film. These imperfections often hint at faulty seals allowing external light to penetrate.
If your camera has been stored for an extended period without use, it’s wise to check the condition of the seals before taking it back out for shooting adventures. Regular maintenance keeps your gear performing optimally and safeguards your creative endeavors.
Steps to Replace and Fix Canon FX Light Seals
Replacing the Canon FX light seals is a straightforward process that can breathe new life into your camera. Start by gathering your materials and tools. You’ll need fresh foam or felt, adhesive, tweezers, and a small cutting tool.
Begin by carefully disassembling the camera back. Take caution to avoid any damage. Once opened, remove the old seals using tweezers or a sharp blade.
Next, prepare the surface for adhesion by cleaning off any residue left behind from the old seals. Cut your new seal material to size before applying it meticulously where needed.
Once positioned correctly, apply adhesive sparingly to ensure a clean finish without excess glue spilling over. Press firmly but gently to secure everything in place.
Reassemble your camera with care after allowing time for proper drying of adhesives. This step ensures no further issues arise when taking photos again.
Recommended Tools and Materials
When tackling the replacement of Canon FX light seals, having the right tools is crucial. Start with a set of precision tweezers. They allow you to handle small pieces without damaging delicate components.
You’ll also need a sharp blade or hobby knife for cutting old seals and fitting new ones. Ensure it’s fresh; dull blades can create unnecessary mess.
A soft cloth will come in handy for cleaning surfaces before applying new seal material. Dust and debris can interfere with adhesion.
For adhesive, opt for a quality double-sided tape designed for camera use. This ensures durability while maintaining flexibility as your camera moves during operation.
Don’t forget safety goggles! Protecting your eyes from tiny particles when working close to your equipment is always wise. With these essentials on hand, you’re well-equipped to tackle this project effectively.
Tips for a Successful Replacement
Taking your time is key. Rushing through the replacement process can lead to mistakes that might affect your camera’s performance.
Ensure you work in a well-lit area. Good lighting helps you see every detail, making it easier to align seals properly.
Always keep your workspace organized. Having all tools and materials within reach prevents unnecessary distractions and ensures efficiency.
Consider watching tutorial videos before starting. They provide visual guidance that can clarify tricky steps in the replacement process.
Double-check measurements of old seals against new ones. Precision matters when ensuring a snug fit for optimal light protection.
Be patient with yourself if things don’t go as planned initially. Practice improves skill, so don’t hesitate to try again if needed!
Conclusion
Maintaining your Canon FX light seals is essential for optimal performance. Properly functioning seals protect your camera from light leaks, ensuring that every shot turns out as intended.
Engaging in this DIY project can be rewarding. You not only enhance the lifespan of your camera but also gain a deeper appreciation for its mechanics.
Remember to approach each step with care. Take your time and don’t rush through the process. The right tools will make all the difference.
Sharing experiences or tips within photography communities can foster growth and connection. Your journey with the Canon FX could inspire others facing similar challenges.
Keeping those seals intact enhances both image quality and overall photographic experience, allowing you to capture stunning moments without worry.
FAQs
When it comes to Canon FX light seals, you might have a few lingering questions. Here are some commonly asked ones:
What are the main functions of light seals in my camera?
Light seals prevent unwanted light from entering the camera body. This is crucial for keeping your photos clear and free from fogging or streaks.
How often should I check my Canon FX light seals?
It’s good practice to inspect them annually, especially if you use your camera regularly. If you’re shooting in varying conditions, consider checking more frequently.
Can I replace the light seals myself?
Absolutely! With the right tools and materials, many enthusiasts successfully tackle this DIY project at home.
Are there any risks involved in replacing the light seals?
If done carefully, replacing your Canon FX light seals poses minimal risks. However, improper handling can potentially damage other components inside your camera.
Where can I find replacement seal material?
You can purchase dedicated foam seal kits online or at photography supply stores. Make sure to select one specifically designed for vintage cameras like the Canon FX.
How do I know if I’ve applied the new seal correctly?
After applying new foam strips, close up your camera and perform a test with film or digital sensors (if applicable). Look out for any unusual exposure issues as signs that adjustments may be needed.
Your questions matter when caring for your gear! Keeping these insights in mind will help ensure that you maintain optimal performance from your beloved Canon FX.